| |
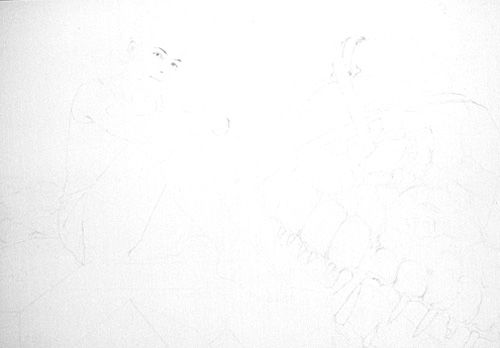
The beginning of every picture is - after drawing some sketches for the image layout
- the transfer of the sketch on the original underground (in this case "Schoellershammer 4G dick").
The drawing should be made with fine, tenderly lines, so that they are easy to eliminate in a later phase of the
development of the picture
|
| |
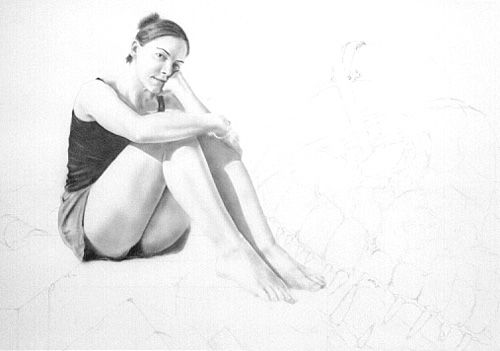
As next I brush the shadow regions with thinned black in
several steps, in which I rework every color application; for example I sharpen the light areas by erasing
with different types of eraser. Mostly I begin the brushing with the chief motive, simply because I than can decide
if the picture succeeds or not. By the way I don't use masking in the most cases
- least of all with bonding sheet, because using such film, the edges becomes to sharp.
If I have to mask sth, at most I use a curve template or architect paper fitted by myself,
which I hold above the underground with little space
|
| |
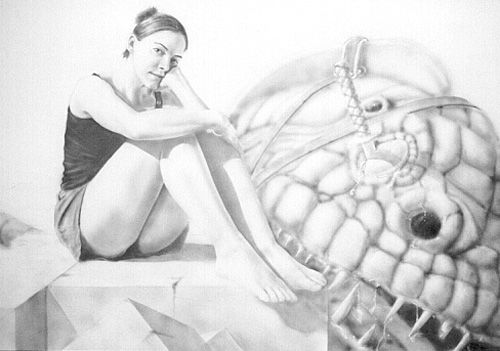
In the next step I proceed the same way with the background |
| |
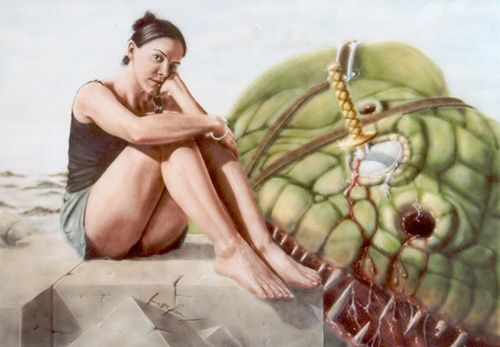
It will be continued with the coloring. I begin with the dark skin tones
and come up to the light tones layer by layer, whereas, like the brushing of the shadows,
I rework each layer to point up the lights and to structure the skin and the hair |
| |
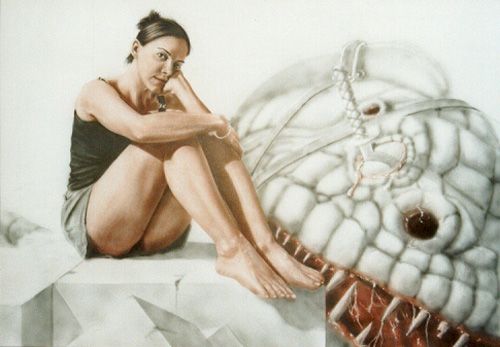
The rest is in prinziple again and again the same procedure
as in the earlier steps. Beginning with the dark tones up to the lighten I apply the colors in thin layers
and rework each one until the picture is finished.
This procedure is suited for transparent colors; If you use opaque colors you have to invert the procedure,
that means, beginning with the light tones and then step by step up to the darker colors.
|

